Windows Server 2019にActive Directoryを構築する
- 2021.01.06
- ツール 開発
- Active Directory, LDAPS, Windows Server 2019

Windows Server 2019にActive Directoryを構築する手順を記載します。
インストール自体は簡単です。
ぱぱっと終わらせましょう。
LDAPS通信を有効にしたい場合は、こちらを参考にしてください。
Active DirectoryのLDAPS通信を有効にする
役割と機能でActive Directoryを追加
サーバーマネージャーを起動し、役割と機能の追加を行います。

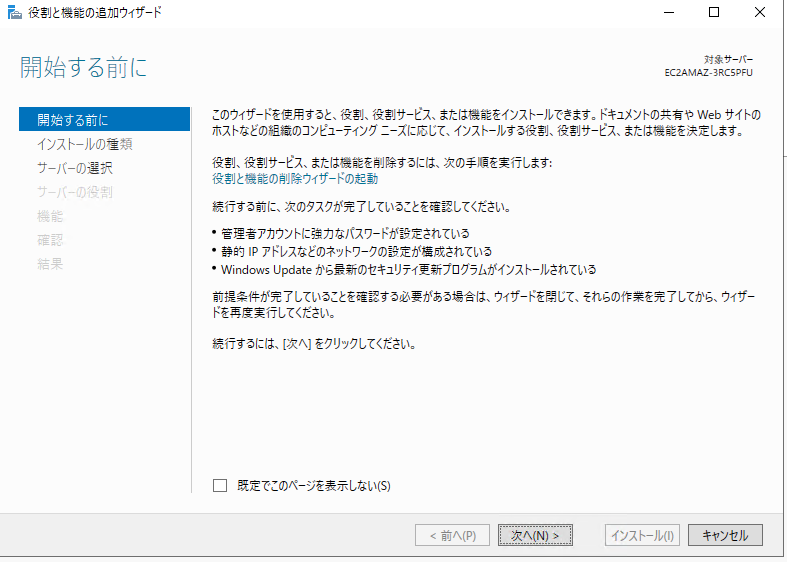
役割と機能の追加ウィザードが立ち上がります。
「開始する前には」は「次へ」をクリックします。
初めての構築の場合一応読んでおいてもいいかと思います。
インストールの種類の選択では「役割ベースまたは機能ベースのインストール」を選択します。

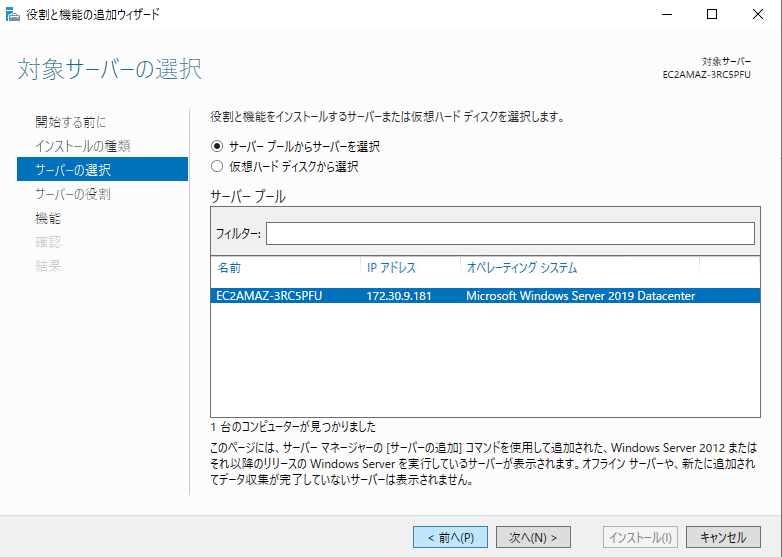
対象サーバーの選択は、特に指定すべきサーバーがなければデフォルトのまま次へ進みます。
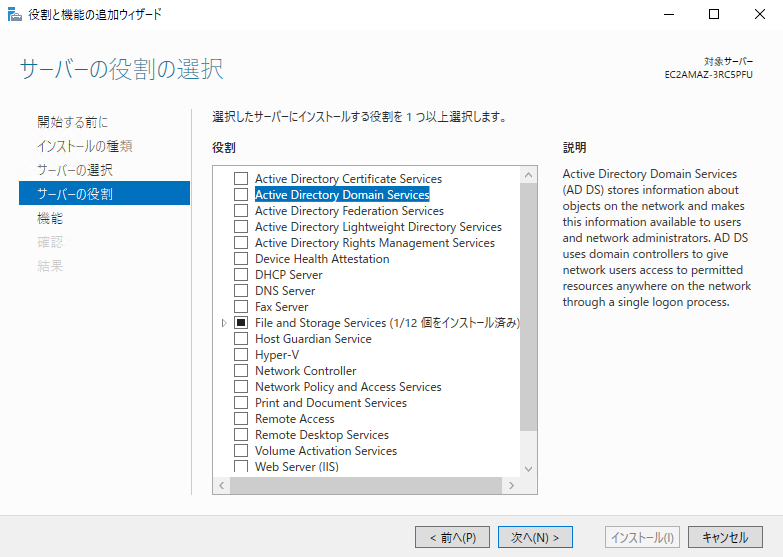
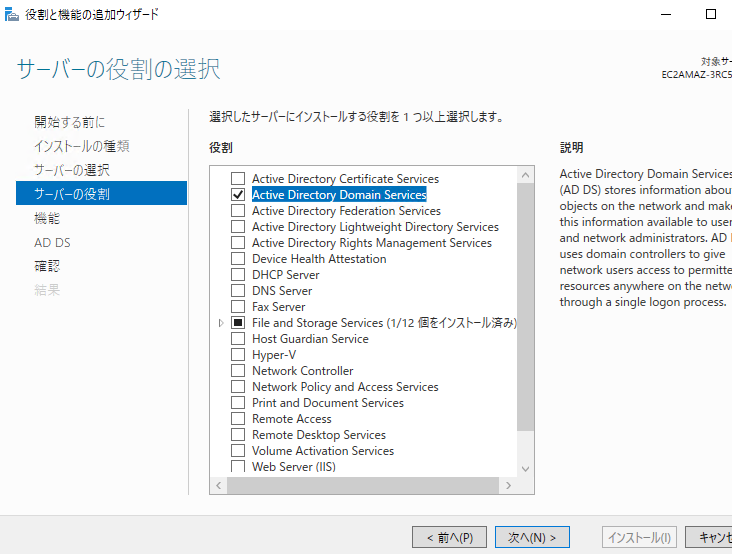
サーバーの役割の選択では、「Active Directory Domain Services」を選択します。Active Directory~と並んでいて紛らわしいですが、上のほうにあります。
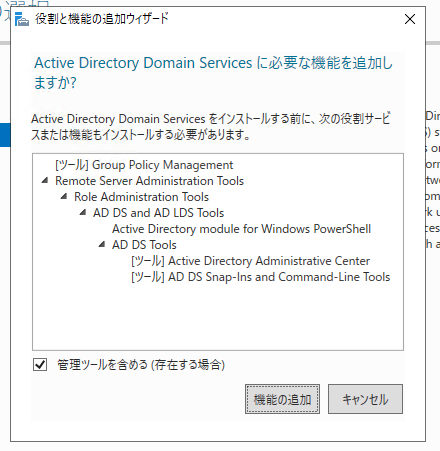
機能の追加確認ウィンドウが立ち上がるので、「機能の追加」を選択
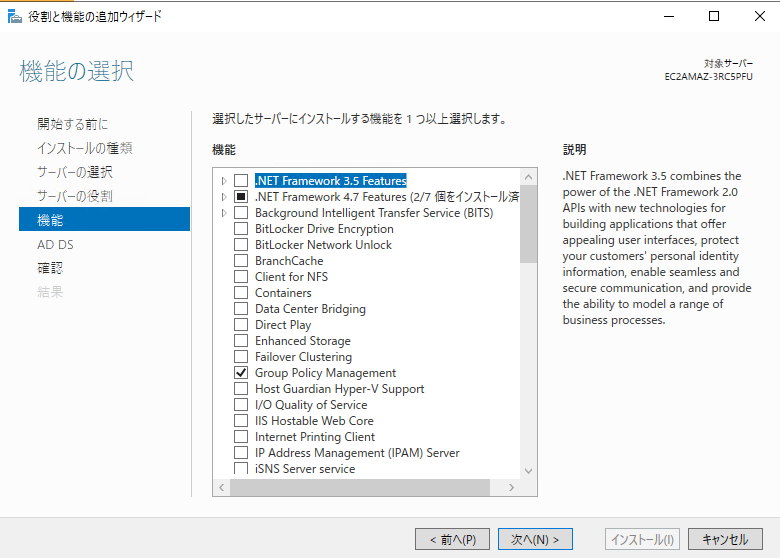
「Active Directory Domain Services」が選択されていることを確認し、次へ(もしなにか追加で入れたいものがあれば追加)
機能の選択では、何も選択せず次へ(もしなにか追加で入れたいものがあれば追加してください)
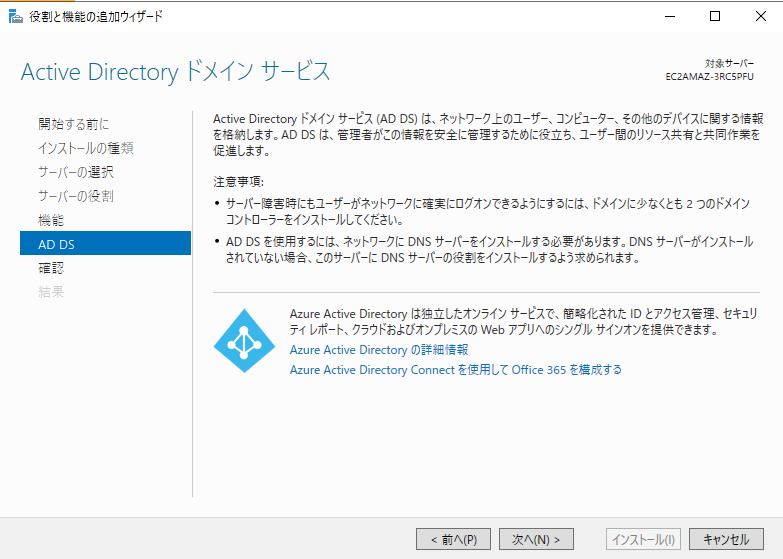
Active Directory ドメインサービスの説明は読んだら「次へ」
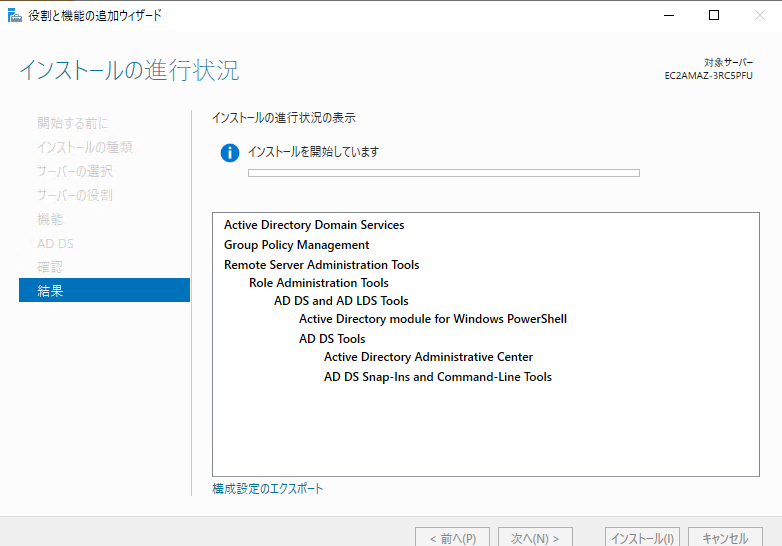
インストール オプションの確認では、「必要に応じて対象サーバーを自動的に再起動する」にチェックを入れて「インストール」を選択
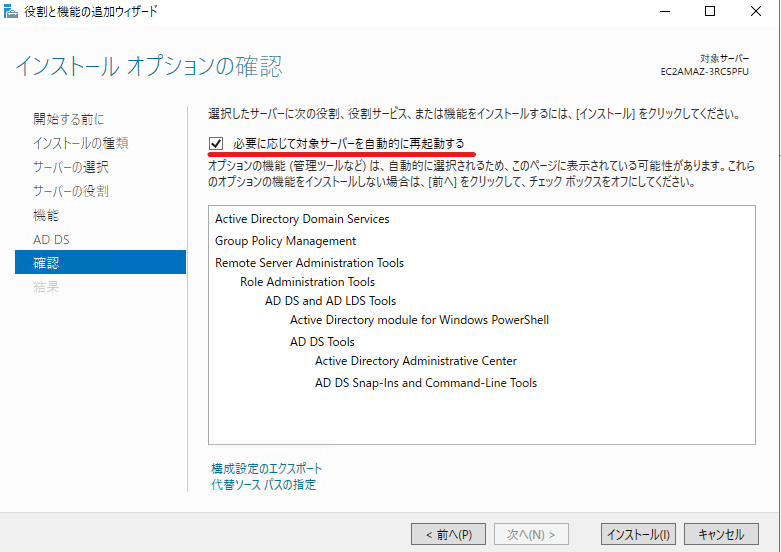
インストールの終了を待つ。
インストールが終了したら、ウィンドウを閉じて大丈夫です。
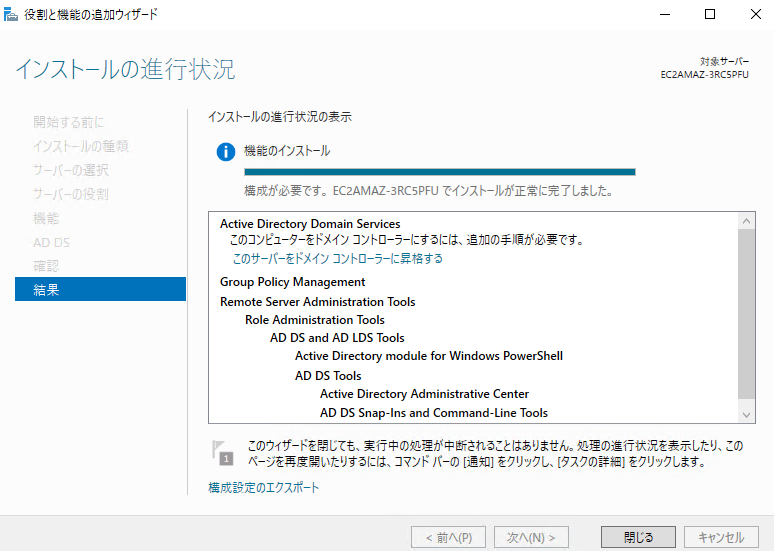
ここまでで、Windows Server 2019にActive Directoryのインストールが完了しました。
続けて、Active Directoryの設定を行っていきます。
Active Directoryの設定
ドメインコントローラーに昇格
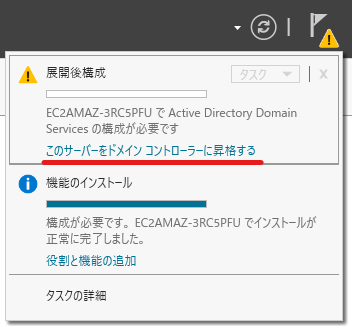
ActiveDirectoryのインストールが終わると、サーバーマネージャーの右上に以下の通知アイコンが出ていると思います。
クリックすると、「このサーバーをドメインコントローラーに昇格する」というリンクがありますので、選択。
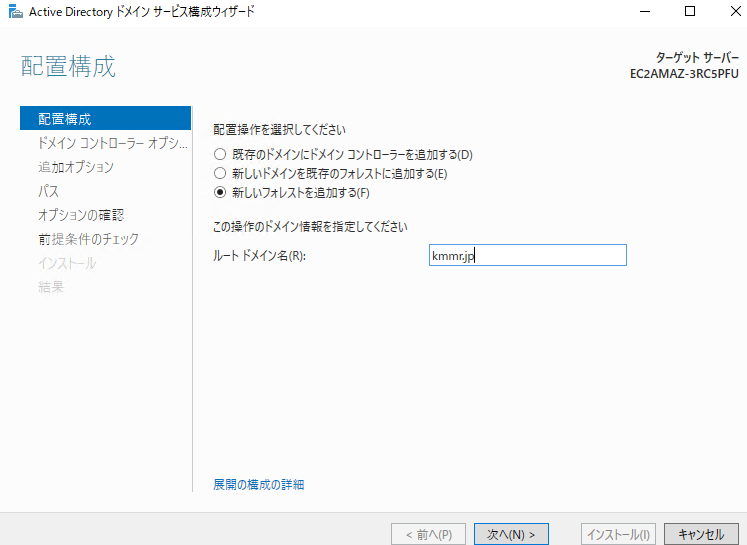
Active Directory ドメイン サービス構成ウィザードが開くので、ドメインコントローラーに昇格するための設定を行っていきます。
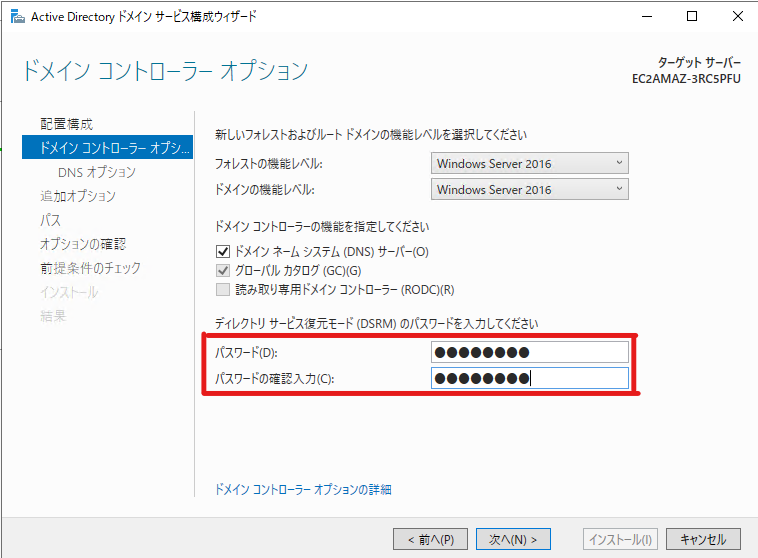
新規にActive Directoryを構築しているため、「新しいフォレストを追加する」を選択。
「ディレクトリ サービス復元モード(DSRM)のパスワードを入力してください」という表示に対してパスワードを設定します。
その他はデフォルトのままとします。
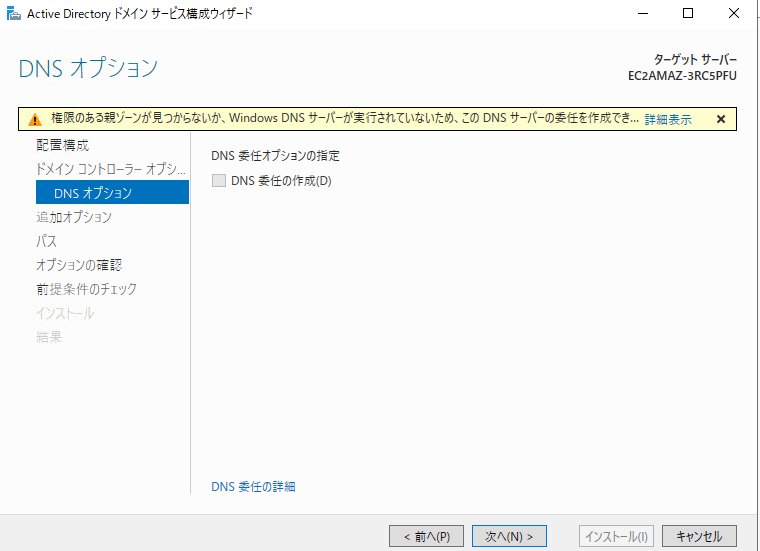
DNSオプションはそのまま「次へ」を選択
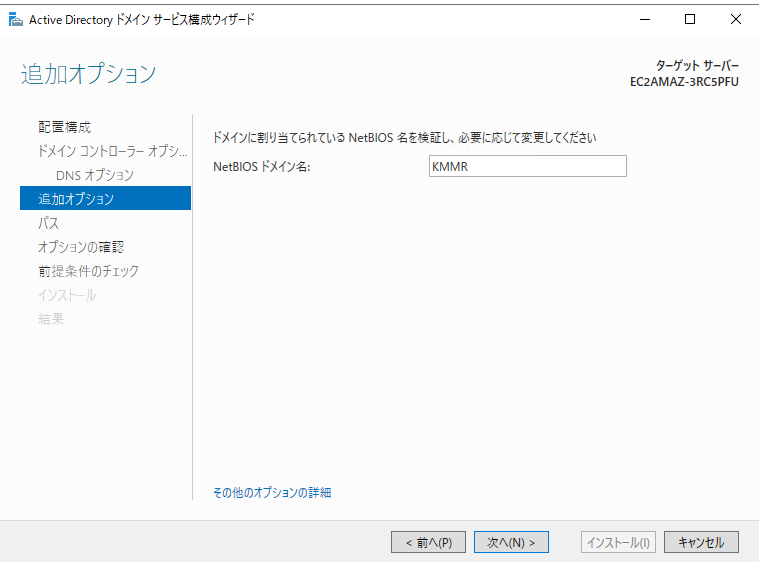
NetBIOS ドメイン名は少し待つとデフォルト値が入りますので、そのまま次へ
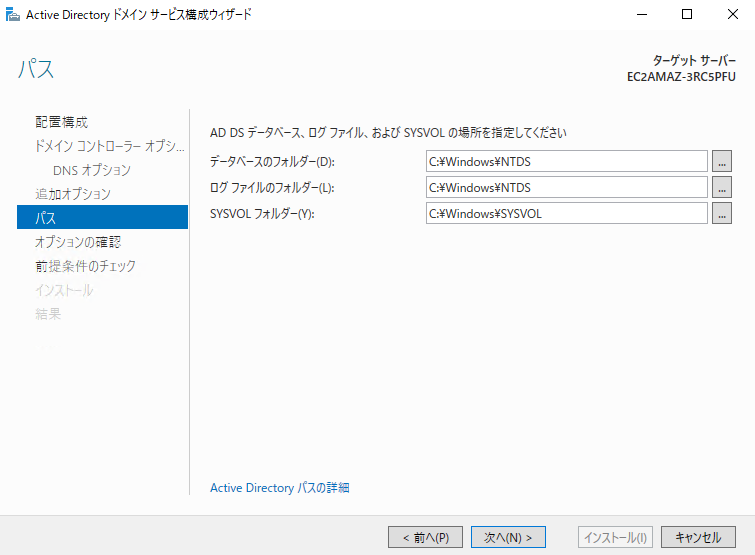
パスはそのまま「次へ」
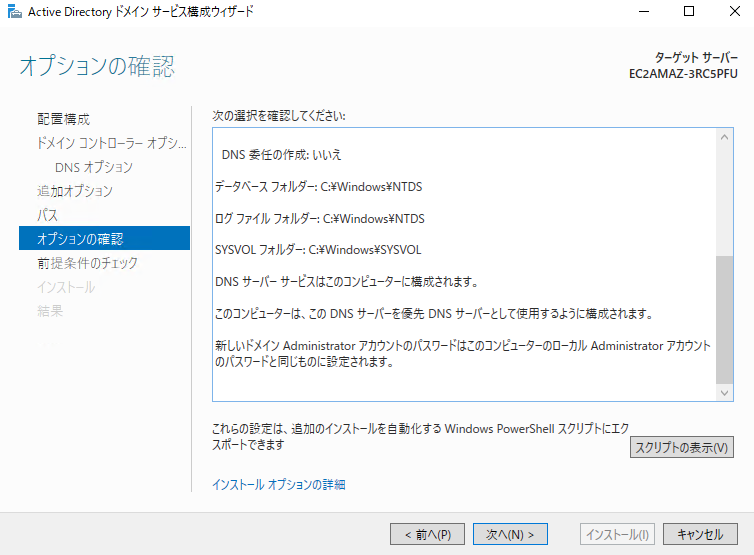
オプションの確認で設定してきた内容に問題がなければ「次へ」
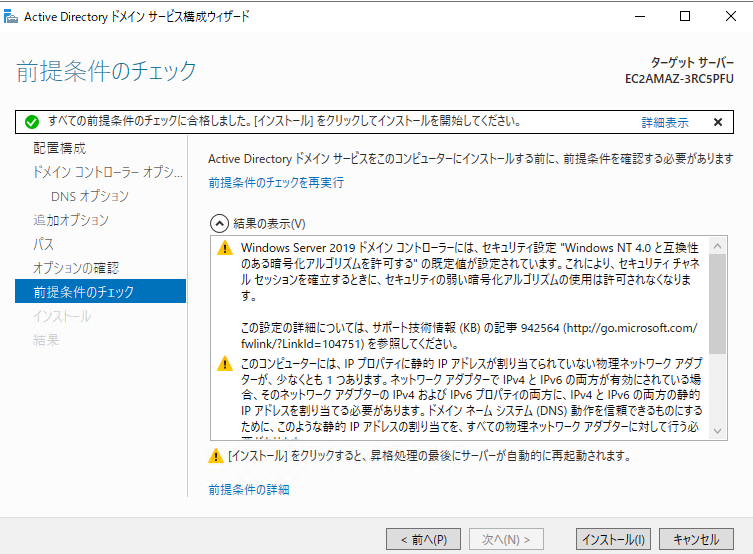
前提条件のチェックが行われます。問題がない場合、インストールが推せるようになります。
警告マークはしっかり読んでおくか控えておきましょう。後々問題になったときにこの警告を対処すれば解決することがあります。
では、このまま「インストール」
※途中で再起動が入るかもしれません。
再起動をおこなったら、Windows Seerver 2019がドメインに参加しているかを確認してみます。
システム情報を開き、ドメインに参加できているかを確認してみてください。
ドメインに自分が設定した値が入っていれば成功です。
-
前の記事
RLoginの設定を別PCへ移行・共有する 2020.12.24
-
次の記事
Active DirectoryのLDAPS通信を有効化する 2021.01.06